
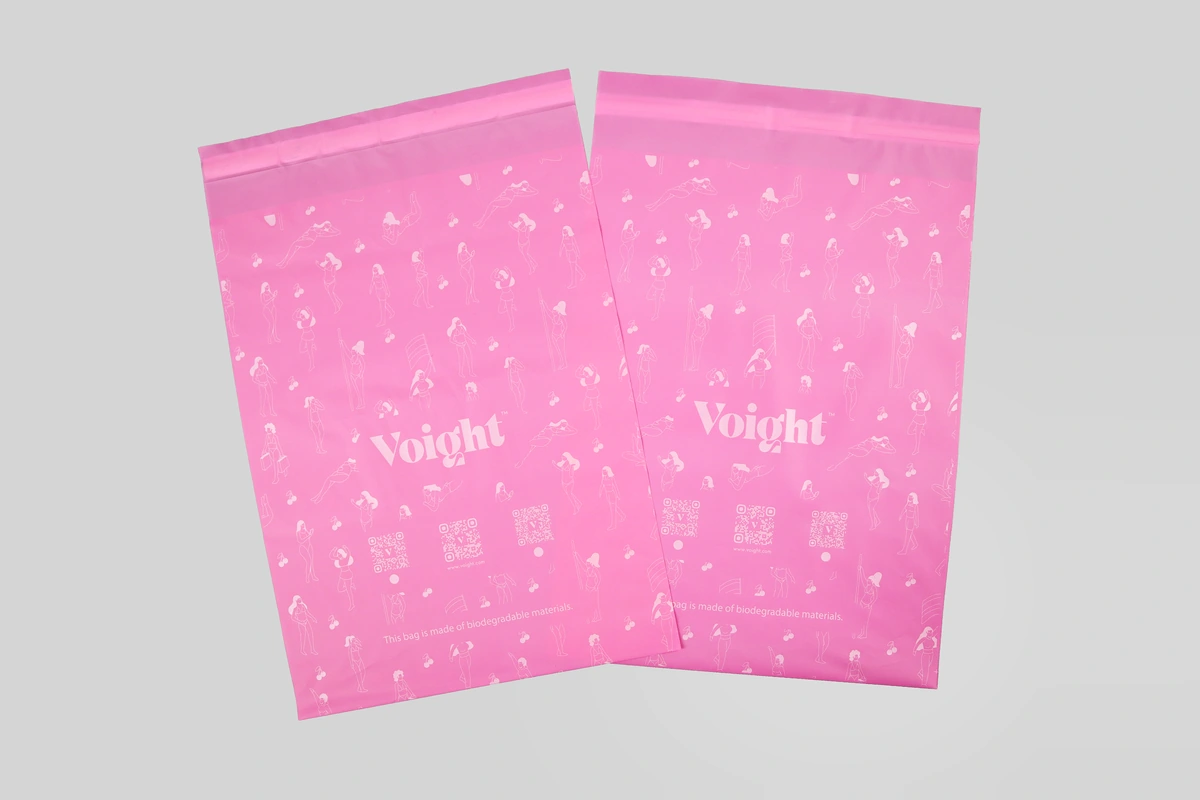
Fold the garment exactly as the packing team will, then add the inner bag, tag and any insert. Measure the bundle’s width, length and depth. A shirt and a thick knit may have the same folded footprint but need different mailers.
Measure multi-item orders as bundles. A pair of shirts stacked together takes up some of the flat width you might otherwise count as spare space.
Measure what goes into the mailer
| Measurement | Where to measure | Common omission |
|---|---|---|
| Width | The widest point across the packed item | A sleeve, folded edge or insert that protrudes |
| Length | The longest point in the intended insertion direction | A header card or inner bag closure |
| Depth | The thickest point with the product resting naturally | Measuring a garment while pressing it flat |
| Closure space | The empty area needed to close the chosen mailer | Treating an adhesive flap as usable bag body |
Mark the edge that enters the opening first. If the packing team turns the item sideways, width and length trade places on the fit drawing.
Depth uses some of the flat bag’s width
Picture a simple flat sleeve wrapping around a rigid rectangular cross-section. Its two walls have to travel around the item’s width and depth. Ignoring seams and slack, that gives a geometric starting point of flat bag width = item width + item depth.
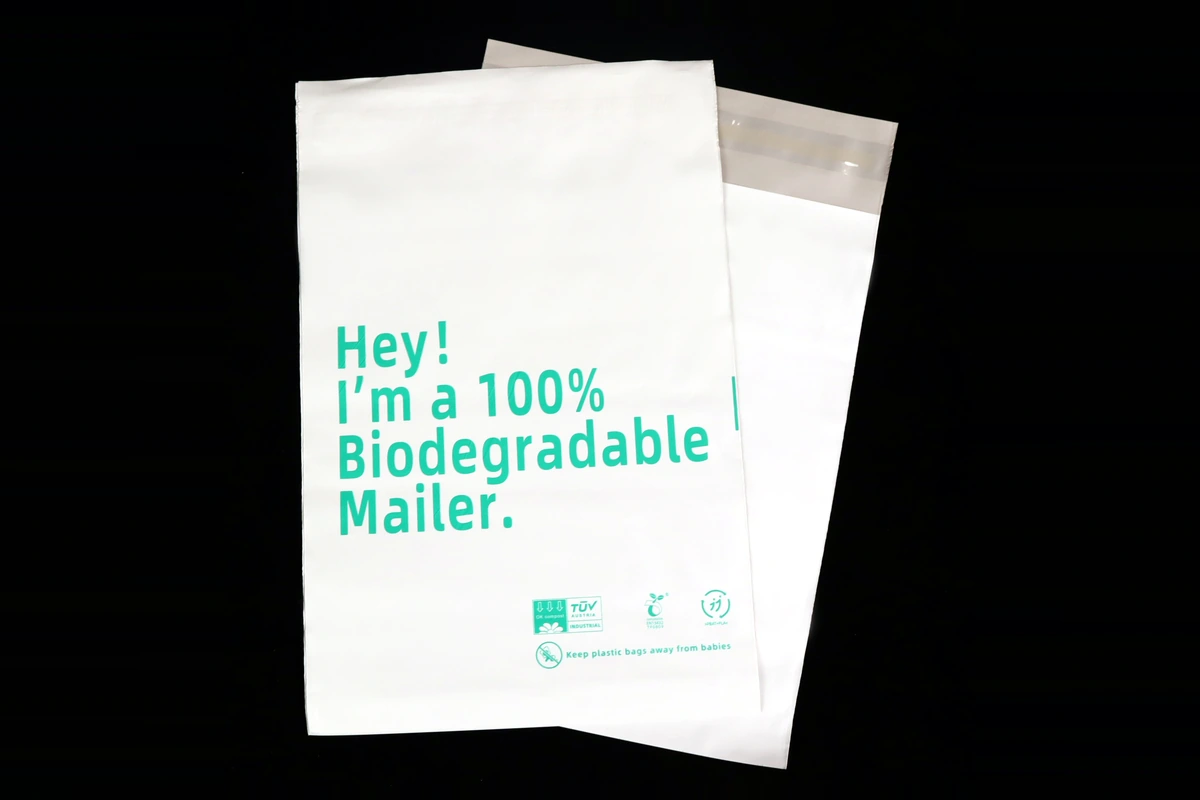
A parcel 240 mm wide and 40 mm deep gives a starting width of 280 mm. At exactly 280 mm, a flat non-gusseted mailer would have no slack for insertion. Use a sample to determine how much room your parcel needs.
Uline’s mailer guide also accounts for product thickness when choosing a width and length. Its suggested allowances apply to the mailers in that guide.
Separate bag body, usable space and flap
Draw the bottom seal, opening and adhesive flap. Ask the supplier to mark the internal space between seals and show where the quoted external length ends.
A 380 mm body with a 50 mm flap measures 430 mm from end to end before closing. A 380 mm overall bag that includes a 50 mm flap leaves a shorter body. Use those labels on your drawing even if your actual dimensions differ.
Mark a gusset at its fully opened depth. For a return mailer, open the first seal as the customer would and check how much usable space remains when the second strip is closed.
Build the sample around a real packing routine
- Prepare the item exactly as warehouse staff will pack it, including the inner garment bag, tissue or insert.
- Insert it without pulling hard on the opening or compressing it beyond the normal packing method.
- Settle it into the bag and check the bottom and corners.
- Close the flap in its intended position. The item should not occupy the area needed for the adhesive to meet cleanly.
- Place the shipping label on the filled parcel and check that it has a usable, readable area.
Time spent refolding a garment or smoothing the film under a label is a sign to revisit the sample. Let the packing staff try the bag with their usual fold.
Decide which products can share a size
Lay out products by packed dimensions. Two T-shirt styles can fold to different depths, while a scarf and a lightweight top may share a mailer comfortably.
Pack the smallest and largest items in each group. Check for loose film around the smaller item and tension across the larger one’s closure. If customers often order both together, try that parcel too.
Record which items need another size. That lets staff pick the right bag without having to rediscover the exception at the packing bench.
Inspect the corners, seal and label after packing
Look for strained corners, wrinkled closure contact and a label area interrupted by folds. Repeat the packing trial with more than one real item so that the decision does not depend on an unusually neat fold.
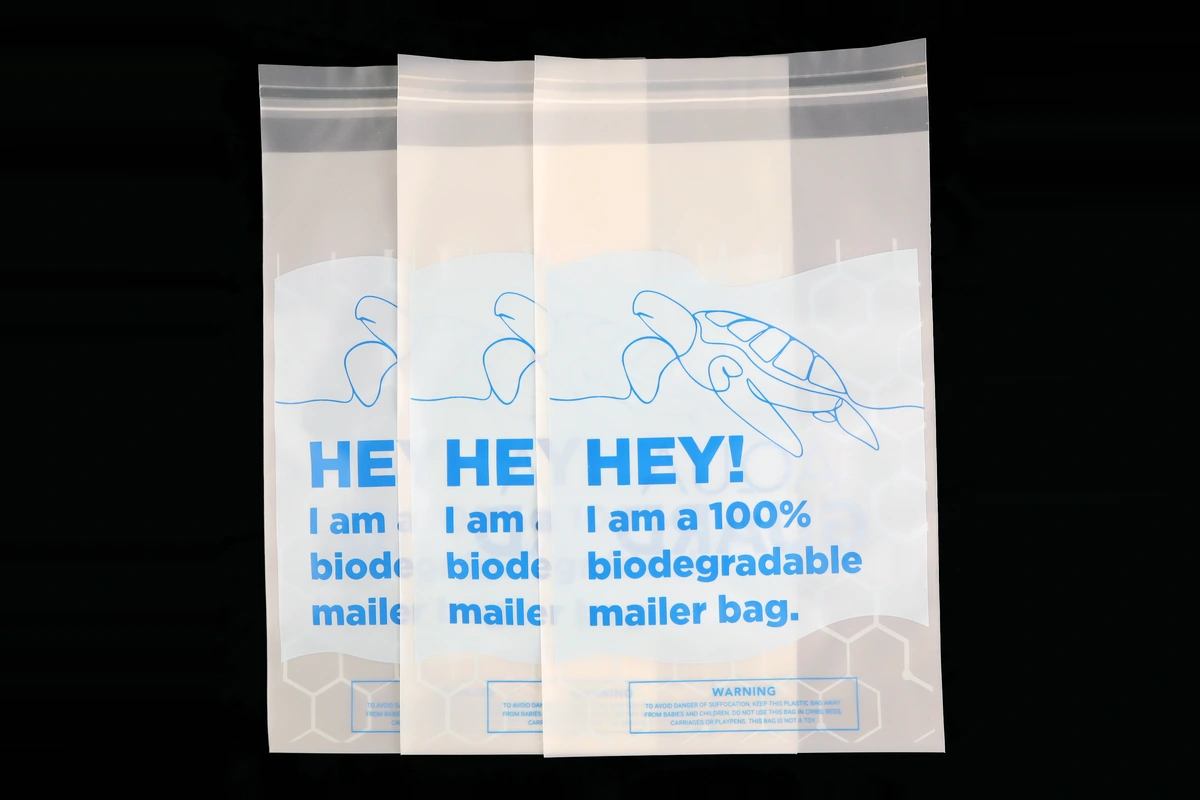
Include whatever cushioning or rigid box the item needs before measuring for the outer mailer.
If a roomy sample still punctures, show the supplier where the film failed. The bag thickness guide explains how to compare one-wall and two-wall readings when discussing a different film.
Keep the approved fit with the order record
Photograph the item before it goes in and the seal after closing. Mark the drawing with the flap and any gusset and list the product variants that fit.
Repeat the fit trial if you change the fold, add an insert or start shipping a larger bundle.
A packing record for each mailer size
- Products and bundle quantities packed in the trial.
- Usable body width and length, flap and any opened gusset.
- Space at the seal and whether the label sat flat.
- A photo of the fold the packing team used.
Common poly mailer sizing questions
Match the inner bag and outer mailer
- See the custom biodegradable mailer options
- Choose inner packaging for clothing
- Check a proposed size through sampling
Tell us which edge goes into the mailer first. Send a photo and the width, length and depth of the parcel with its inner packaging.
Discuss a Mailer Size