
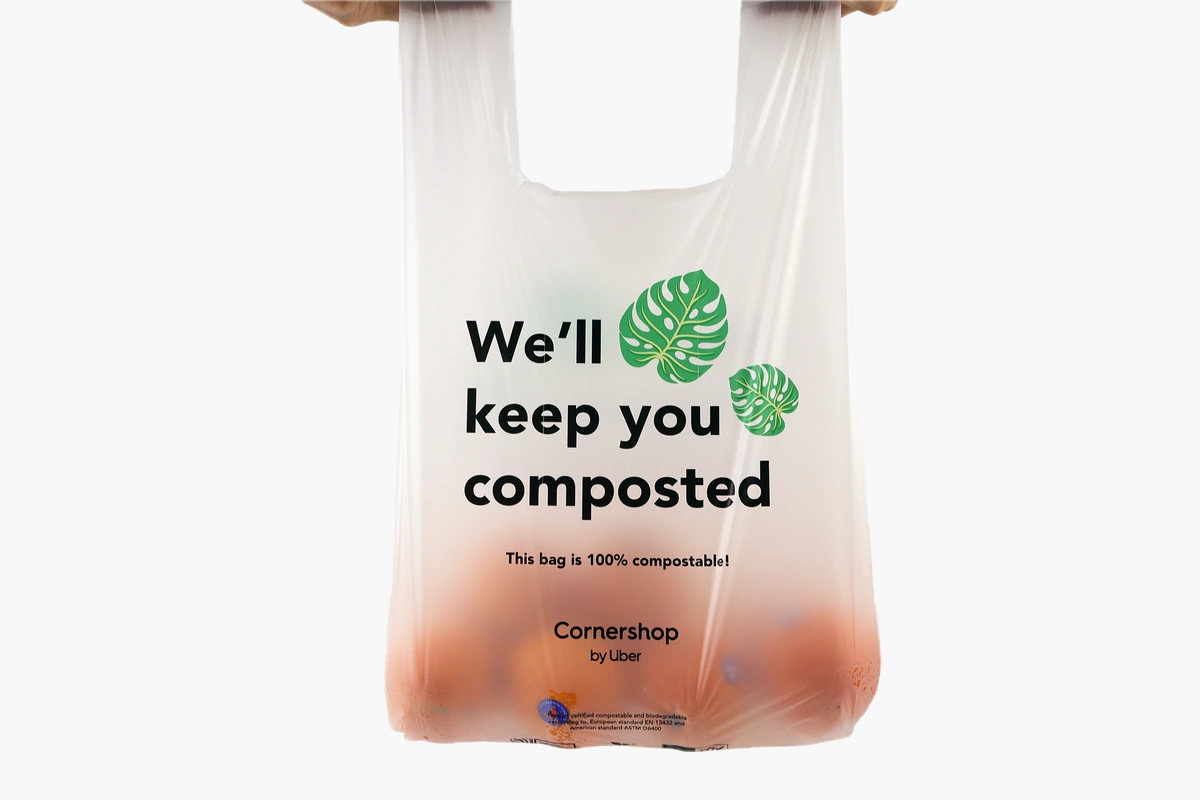
Take a bag marked “300 × 100 × 450 mm.” Does 450 mm end at the top of the body or the tips of the handles? Is 100 mm the depth of the open side or the width of a folded gusset? Put those labels beside the numbers before asking for a price.
A box may settle neatly on the bottom but come up through the handle opening. Take a second set of measurements with the retail pack inside the bag.
Name each dimension before writing the numbers
| Construction | What to record | Detail to make explicit |
|---|---|---|
| Flat bag | Face width and body height | Whether measurements are internal or external |
| Side-gusset bag | Face width, opened side depth and height | Opened depth versus one folded-in section |
| Bottom-gusset bag | Width, height and opened bottom depth | The bottom fold is not a side gusset |
| T-shirt or die-cut handle bag | Body dimensions, overall height and handle opening | The area remaining for contents below the grip |
The bag measurement guide from American Plastic Manufacturing shows how dimensions vary by bag and handle style. Use a labeled drawing to agree which convention applies to your order.
Show whether the gusset is folded or opened
With an empty bag lying flat, the side gusset folds inward. Measure from the outer edge to the innermost fold, then open the side and record its full depth separately.
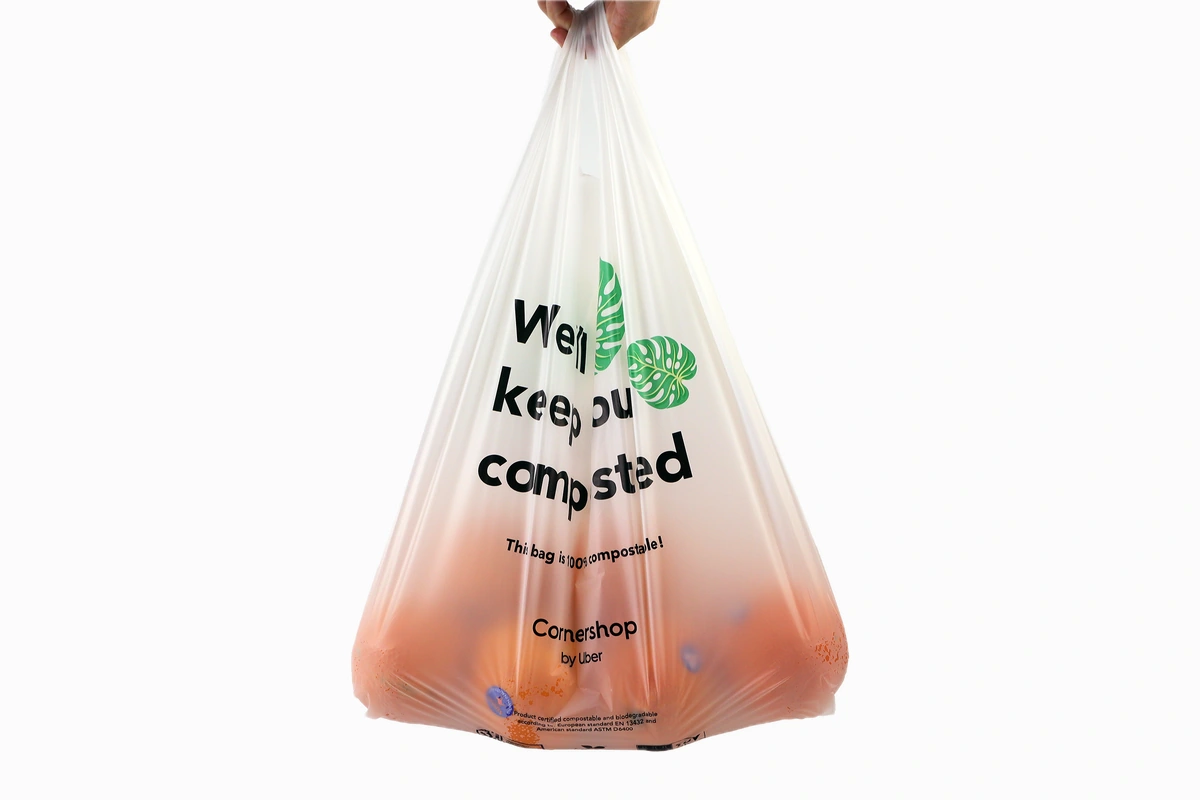
On a symmetrical gusset, two 50 mm sections open to a side depth of 100 mm. Mark “100 mm fully opened side gusset” on the drawing so a supplier can reproduce the measurement.
You can see the fold and the opened side in US Poly Pack’s measurement guide. The 50 mm and 100 mm figures here illustrate how to label them.
Where the usable body ends and the handles begin
On a T-shirt bag, measure to the handle tips for overall height. Also measure from the bottom to the lowest point of the handle cutout. That second measurement shows where a tall box may start to block the grip. On a die-cut bag, check the hand opening above the box too.
On a bag with separately attached loop handles, mark the top body edge and the handle extension. Ask which of those points the quoted height uses.
- Mark the top of the usable packing area.
- Show the handle opening’s position and dimensions.
- Identify any required clearance between the product and the grip.
- Keep total height and body height as separate labeled values when they differ.
Ask which handle constructions the supplier offers before using the drawing to order.
Check the widest packed item and the way it is carried
Measure the retail pack rather than the loose product. A gift box, garment bundle or rigid insert can change the width and depth that the bag needs to accommodate.
Let the gussets open around the packed item and check how its corners sit at the base. Pick up the bag by the handles. There should be room for the hand without pushing down on the box.
Multiplying face width, gusset depth and overall height treats the bag as a rigid box. Use the filled sample to check how the bottom and handles limit the usable space.
Place the print on the filled shape
Mark the side folds, grip and bottom seal on your artwork drawing. A logo centered on the empty bag can partly disappear into a fold once a box opens the gussets.
Use a paper printout or marked sample to check the layout at actual size. Look from the front and side with the intended contents inside. Keep important text away from the grip and other areas that become distorted in normal use.
Send the supplier the checked layout and ask them to confirm the printable area on that construction.
Record fit and carrying performance as different checks
Record whether the item goes in and leaves room for the hand. If you need a carrying load, test that separately using the intended contents and grip.
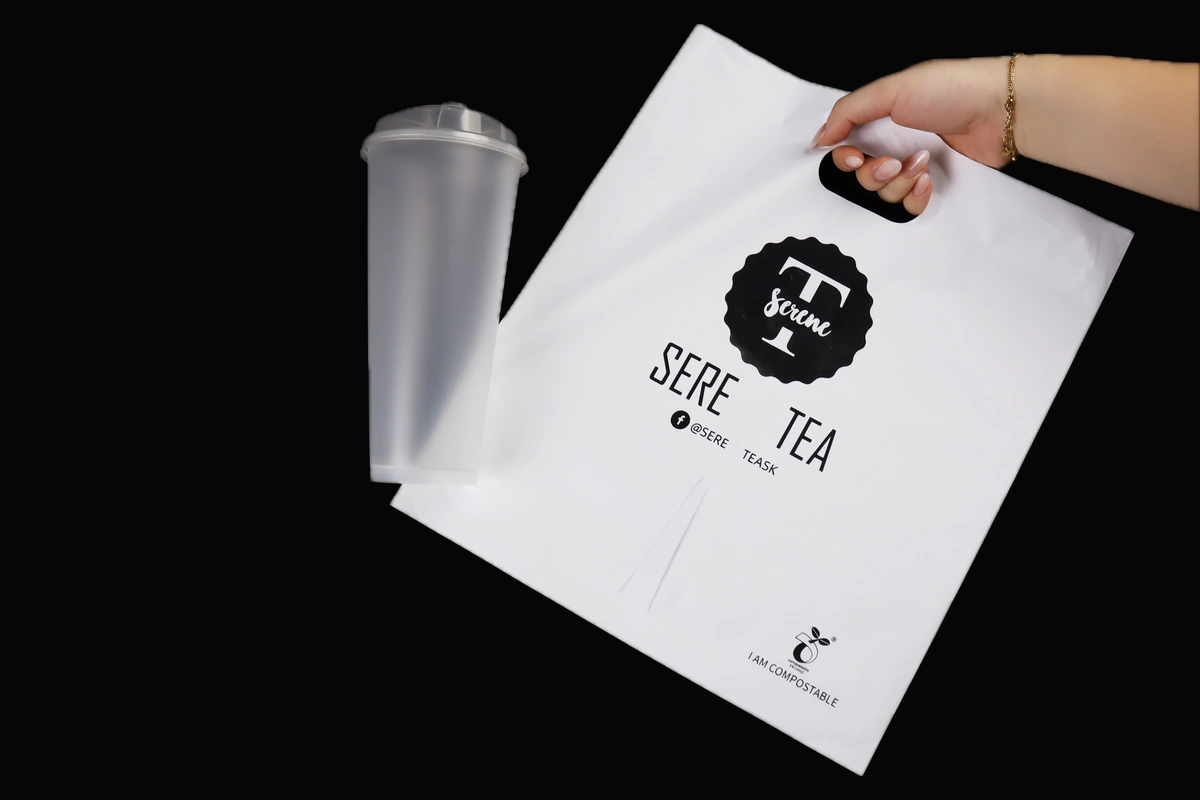
If a handle or bottom seal fails, mark the tear and record how the contents sat in the bag. The thickness guide explains how to compare the film while you investigate the failure.
To compare samples, use the same contents and grip each time. Photograph the filled front, open side and handle area.
An example of a labeled bag drawing
For one example bag the drawing could read “300 mm face width, 100 mm fully opened side gusset, 450 mm overall height to handle tips.” Add separate arrows for the usable body height and the hand opening. The dimensions illustrate the notation.
Save the finished drawing with the filled sample photos once the fit is approved. It should be possible to identify every dimension without referring back to an email.
Arrows to add to the drawing
- Face width, measured either inside or outside as marked.
- Side or bottom gusset, with the full opened depth labeled.
- Height to the lowest point of the grip and height to the top of the bag.
- Handle opening and the clear area available for print.
Shopping bag measurement questions
Move from a drawing to a carry-bag sample
- See custom biodegradable shopping bag formats
- Review the cornstarch-based bag collection
- Check the proposed construction through a sample
If the box fits but the grip feels tight, send a side view with the bag filled. Include the face width, opened gusset and usable height shown on your drawing.
Discuss Shopping Bag Dimensions