
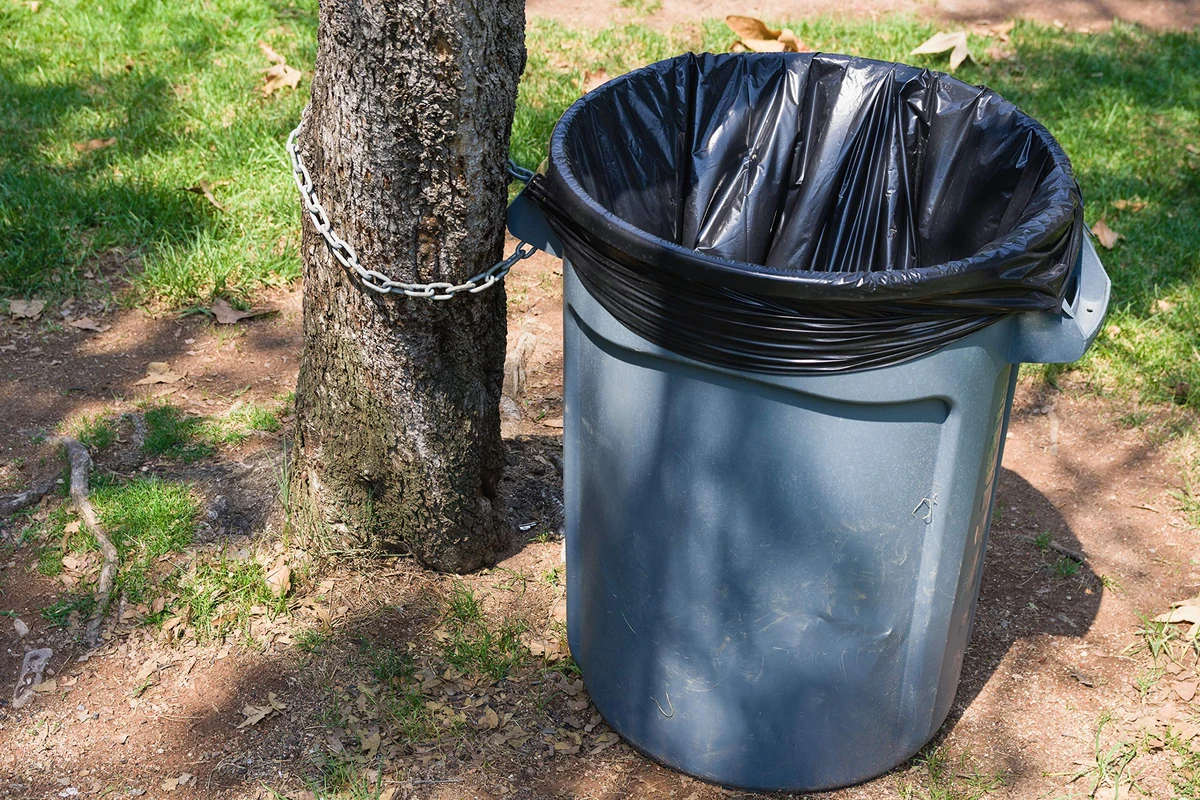
Two bins with the same capacity can need different liners. A wide, shallow bin can be tight at the mouth, while a tall, narrow one can use up the length you planned to leave for a knot.
Measure the rim the liner has to pass over, including the lip or retaining ring. Measure from rim to base and note the bin model or take a photo for the next order.
Start with the opening the bag must fit over
| Bin opening | Opening circumference | Half-circumference width |
|---|---|---|
| Round, diameter D | π × D | π × D ÷ 2 |
| Rectangular, sides A and B | 2 × (A + B) | A + B |
| Irregular rim | Measure the path the opening must fit around | Measured circumference ÷ 2 |
These width figures leave no slack for fitting over a lip or corner. International Plastics’ can-liner guide also starts with half the rim circumference, then considers length and the allowance above the rim.
Width examples for round and rectangular bins
For a round bin with a 300 mm rim diameter, the circumference is about 942.5 mm. Half is about 471.2 mm. This is a geometric reference, not a recommendation to order a 471 mm bag. A final sample needs room to fit over the actual rim without being pulled tight.
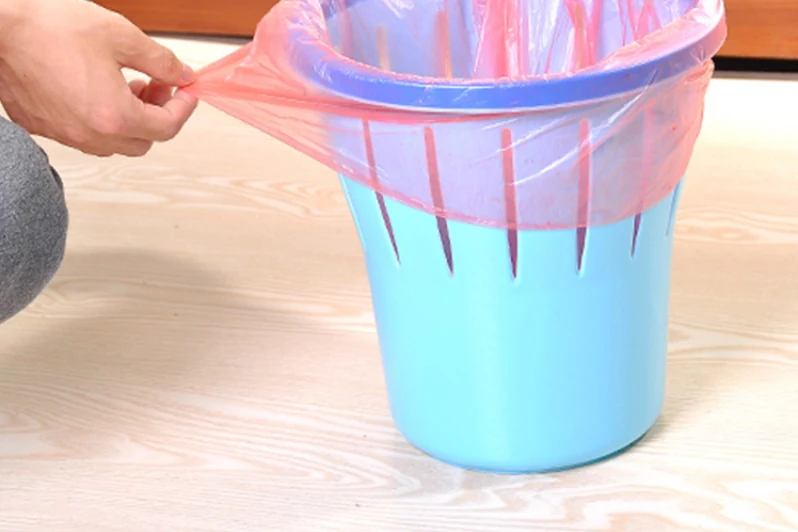
For a rectangular rim measuring 400 × 300 mm, the half-circumference is 700 mm. Again, add the agreed fitting space and account for the proposed bag construction before selecting a sample.
Run the tape around the widest feature the bag must clear. A measurement taken just inside a projecting lip will miss part of that distance.
Add bottom coverage and top space to the length
When the liner reaches the base, some film turns inward to form the bottom. Allow for that turn as well as the height up the bin wall and the material left above the rim.
Base shape, bottom seal and gussets affect how much length this takes. Try the proposed construction in the bin before borrowing an allowance from another liner.
For example, 500 mm of bin height plus 150 mm for the bottom and 120 mm above the rim totals 770 mm. The two allowances are trial figures. Fit the sample and adjust them to your own bin and closure.
Decide whether the extra length is for a cuff or a knot
A cuff holds the opening over the rim while the bin is in use. To tie the liner for removal you also need enough loose material above the contents after lifting it out.
Try the closure at the usual fill level. Pull a drawstring through its full travel, or tie the knot you expect staff to use. An empty bag can leave a generous cuff and still be hard to close when full.
Aluf’s bin-liner calculator asks separately about overhang and tie-off. Tell the supplier which you need, especially if the same liner must cuff over a ring and later tie closed.
Keep capacity, dimensions and thickness separate
Record liters or gallons to identify the bin. Use the measured rim and height to choose the liner dimensions.
If a building uses several bin models, tag each sample with the model it fitted. Bins with the same capacity may still need separate liners.
If a liner reaches the bottom but tears during removal, check the film and seal. The film thickness guide explains what to measure when comparing films.
Check the liner in the bin, then lift it out
- Open the sample fully and place it in the actual bin.
- Confirm that the bottom is supported rather than suspended by tension at the rim.
- Fit the cuff or retaining feature without stretching the opening hard.
- Use a clean representative load to check the intended fill level and shape.
- Lift the bag out and check whether the chosen closure can be made as intended.
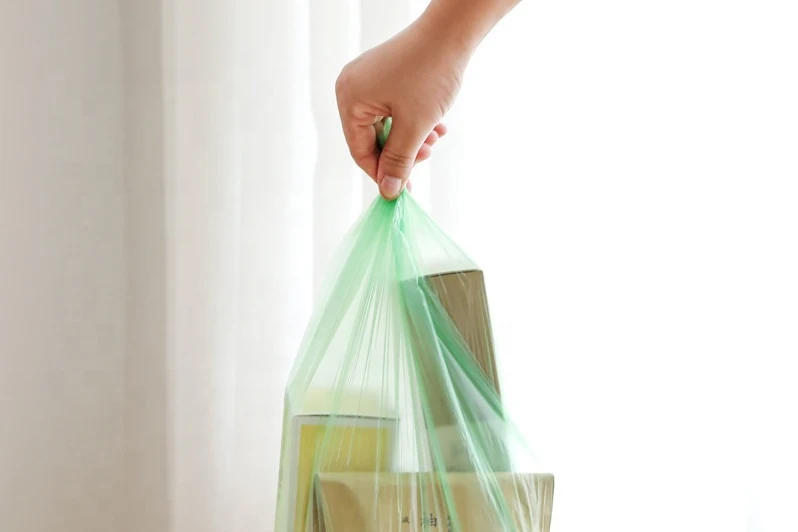
Write down exactly what happens on removal. A liner that slips below the rim may need a different fit at the top. A liner that stands clear of the base needs more usable depth. Test leakage and strength separately if they are order requirements.
Save one liner specification for each checked bin
Keep the bin dimensions, bag drawing and fit notes together. Label the approved sample with the bin model and closure arrangement. If the supplier proposes a different bottom seal or gusset, recheck the usable depth even when the nominal length looks unchanged.
For a rolled order, put the dimensions of one liner beside the bags-per-roll count. The buyer arranging stock needs both.
What to record after the bin trial
- The bin model, rim shape and measured height.
- Whether the liner passed over the widest part of the rim without stretching tight.
- Whether the bottom rested against the bin at the usual fill level.
- Whether the cuff stayed in place during use and staff could close the liner after lifting it out.
Questions about trash bag fit
Choose and sample the liner construction
- Compare custom biodegradable trash bag formats
- Review sample options before choosing dimensions
- Check film thickness units and measurement
Send the bin’s rim dimensions and height with a photo showing its base. Tell us whether the liner needs a cuff during use, a knot for removal or a drawstring.
Discuss a Liner Size